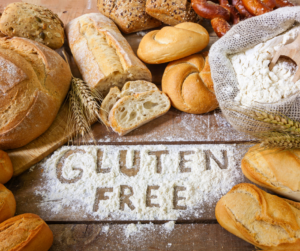
Why this ultimate gluten free bread is prefect for people suffering from a gluten intolerance, firstly it tastes fantastic which I must say from experience every gluten free bread I have eaten tastes very ordinary. Also the thing most people miss when on a gluten free diet is bread & trying to find other alternatives is difficult. https://www.webmd.com/diet/what-to-know-about-gluten-free-bread
Side effects of gluten can range from:
- Mild (fatigue, bloating, alternating constipation & diarrhoea) https://www.nutritionalhealthenterprises.com/gluten-intolerance-support/
- Severe (unintentional weight loss, malnutrition, intestinal damage) as seen in the autoimmune disorder celiac disease
Also you need to be careful of gluten free foods as quite often gluten free products are loaded up with corn, dairy & sugar (dextrose, fructose, galactose, glucose, lactose, maltose & sucrose.) All of which adds to your gluten intolerance & should be out of your diet.
Ultimate Gluten free bread recipe:
Ingredients to Active yeast:
- 8g (2-1/2 teaspoons) of dried yeast
- 20g (2 tablespoons) superfine castor sugar
- 150g (1/2 cup + 2 tablespoons) warm water
Instructions 1 –
Activate the yeast- In a small bowl mix together the yeast, castor sugar & water. set aside for 10-15 minutes or until the mixture starts frothing.
Ingredients for psyllium husk:
- 20g (1/4 cup + 3 tablespoons) psyllium husk
- 240g (1 cup) water
Instructions 2 –
In a seperate bowl mix psyllium husk & water. After about 15 – 30 seconds a gel will form.
Other ingredients for the Gluten free bread:
- 130g (3/4 cup + 3 tablespoons) buckwheat flour
- 100g (1/2 cup + 3 tablespoons) potato starch (note this is different from potato flour)
- 90g (1/2 cup + 2 tablespoons) brown rice flour (needs to be very finely ground)
- 10g (2 teaspoons table or sea salt
- 12g ( 2 teaspoons apple cider vinegar
Instructions 3 for gluten free bread :
- In a large bowl sift buckwheat flour, potato starch, brown rice flour & salt, then mix evenly throughout. (I have made the bread without sifting the ingredients, however the dry ingredients end up much finer & no lumps.
- Make a well in the middle of the dry ingredients & add yeast mixture, psyllium gel & apple cider vinegar. Knead the dough until smooth & it starts coming away from the bowl, about 5-10 minutes. You can knead by hand or using a stand mixer with a dough hook.
- Transfer the bread to a lightly oiled surface & with lightly oiled hands, knead it gently, forming it into a smooth ball. Place the dough into a lightly oiled bowl, seam side down, cover with a damp tea towel & allow to rise in a warm place for about 1 hour or until doubled in size.
- Once risen, turn the dough onto a lightly floured surface & knead it gently while forming a tight ball. Flip it seam side down onto a part of the work surface that isn’t covered in flour & rotate in place to seal the seams.
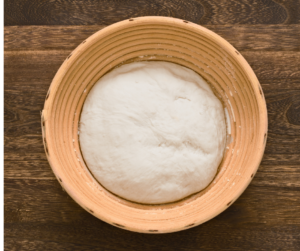
- Place the dough on a 7 in round proofing basket (see photo below), that you have dusted with some brown rice flour, with seam facing upwards. cover with damp tea towel & proof in a warm place for 1 hour or until doubled in size
- While the loaf is proofing, about 30 minutes before finishing, pre-heat the oven at 250 celsius with a cast iron skillet or dutch oven on the lower rack. If you’re using a skillet place on a lower rack & place a baking tray on the rack below that in oven.
- Once the dough has doubled in size, turn it out of the bread basket onto a piece of baking paper & score the top with a pattern of choice (the easiest pattern is a cross, about 1/4 – 1/2 inch deep). Taking the hot cast iron skillet or dutch oven out of the oven & transfer the bread along with the baking paper into it.
- For the skillet this is easy by sliding a pizza wheel or baking sheet underneath the baking paper & then using it to slide the bread along with the baking paper gently into the hot skillet. for a dutch oven, use the sides of the baking paper as handles to transfer the bread into it.
- If using a skillet: place the skillet in the oven, pour hot water into the bottom baking tray, add 3-4 ice cubes around the bread (between the baking paper & the skillet & close the oven door
- If using dutch oven: add 3-4 ice cubes around bread (between baking paper & walls of dutch oven & close the lid, then place it into the pre-heated oven
- Bake at 250 celsius with steam for 20 minutes – don’t open the dutch oven or the oven doors during this initial period, as that would allow the steam to escape out of the oven.
- After 20 minutes, remove the bottom tray with water from oven (for cast iron skillet) or take lid of the dutch oven cooker, reduce the oven temperature to 230 Celsius & bake for a further 40-50 minutes in a steam free environment.
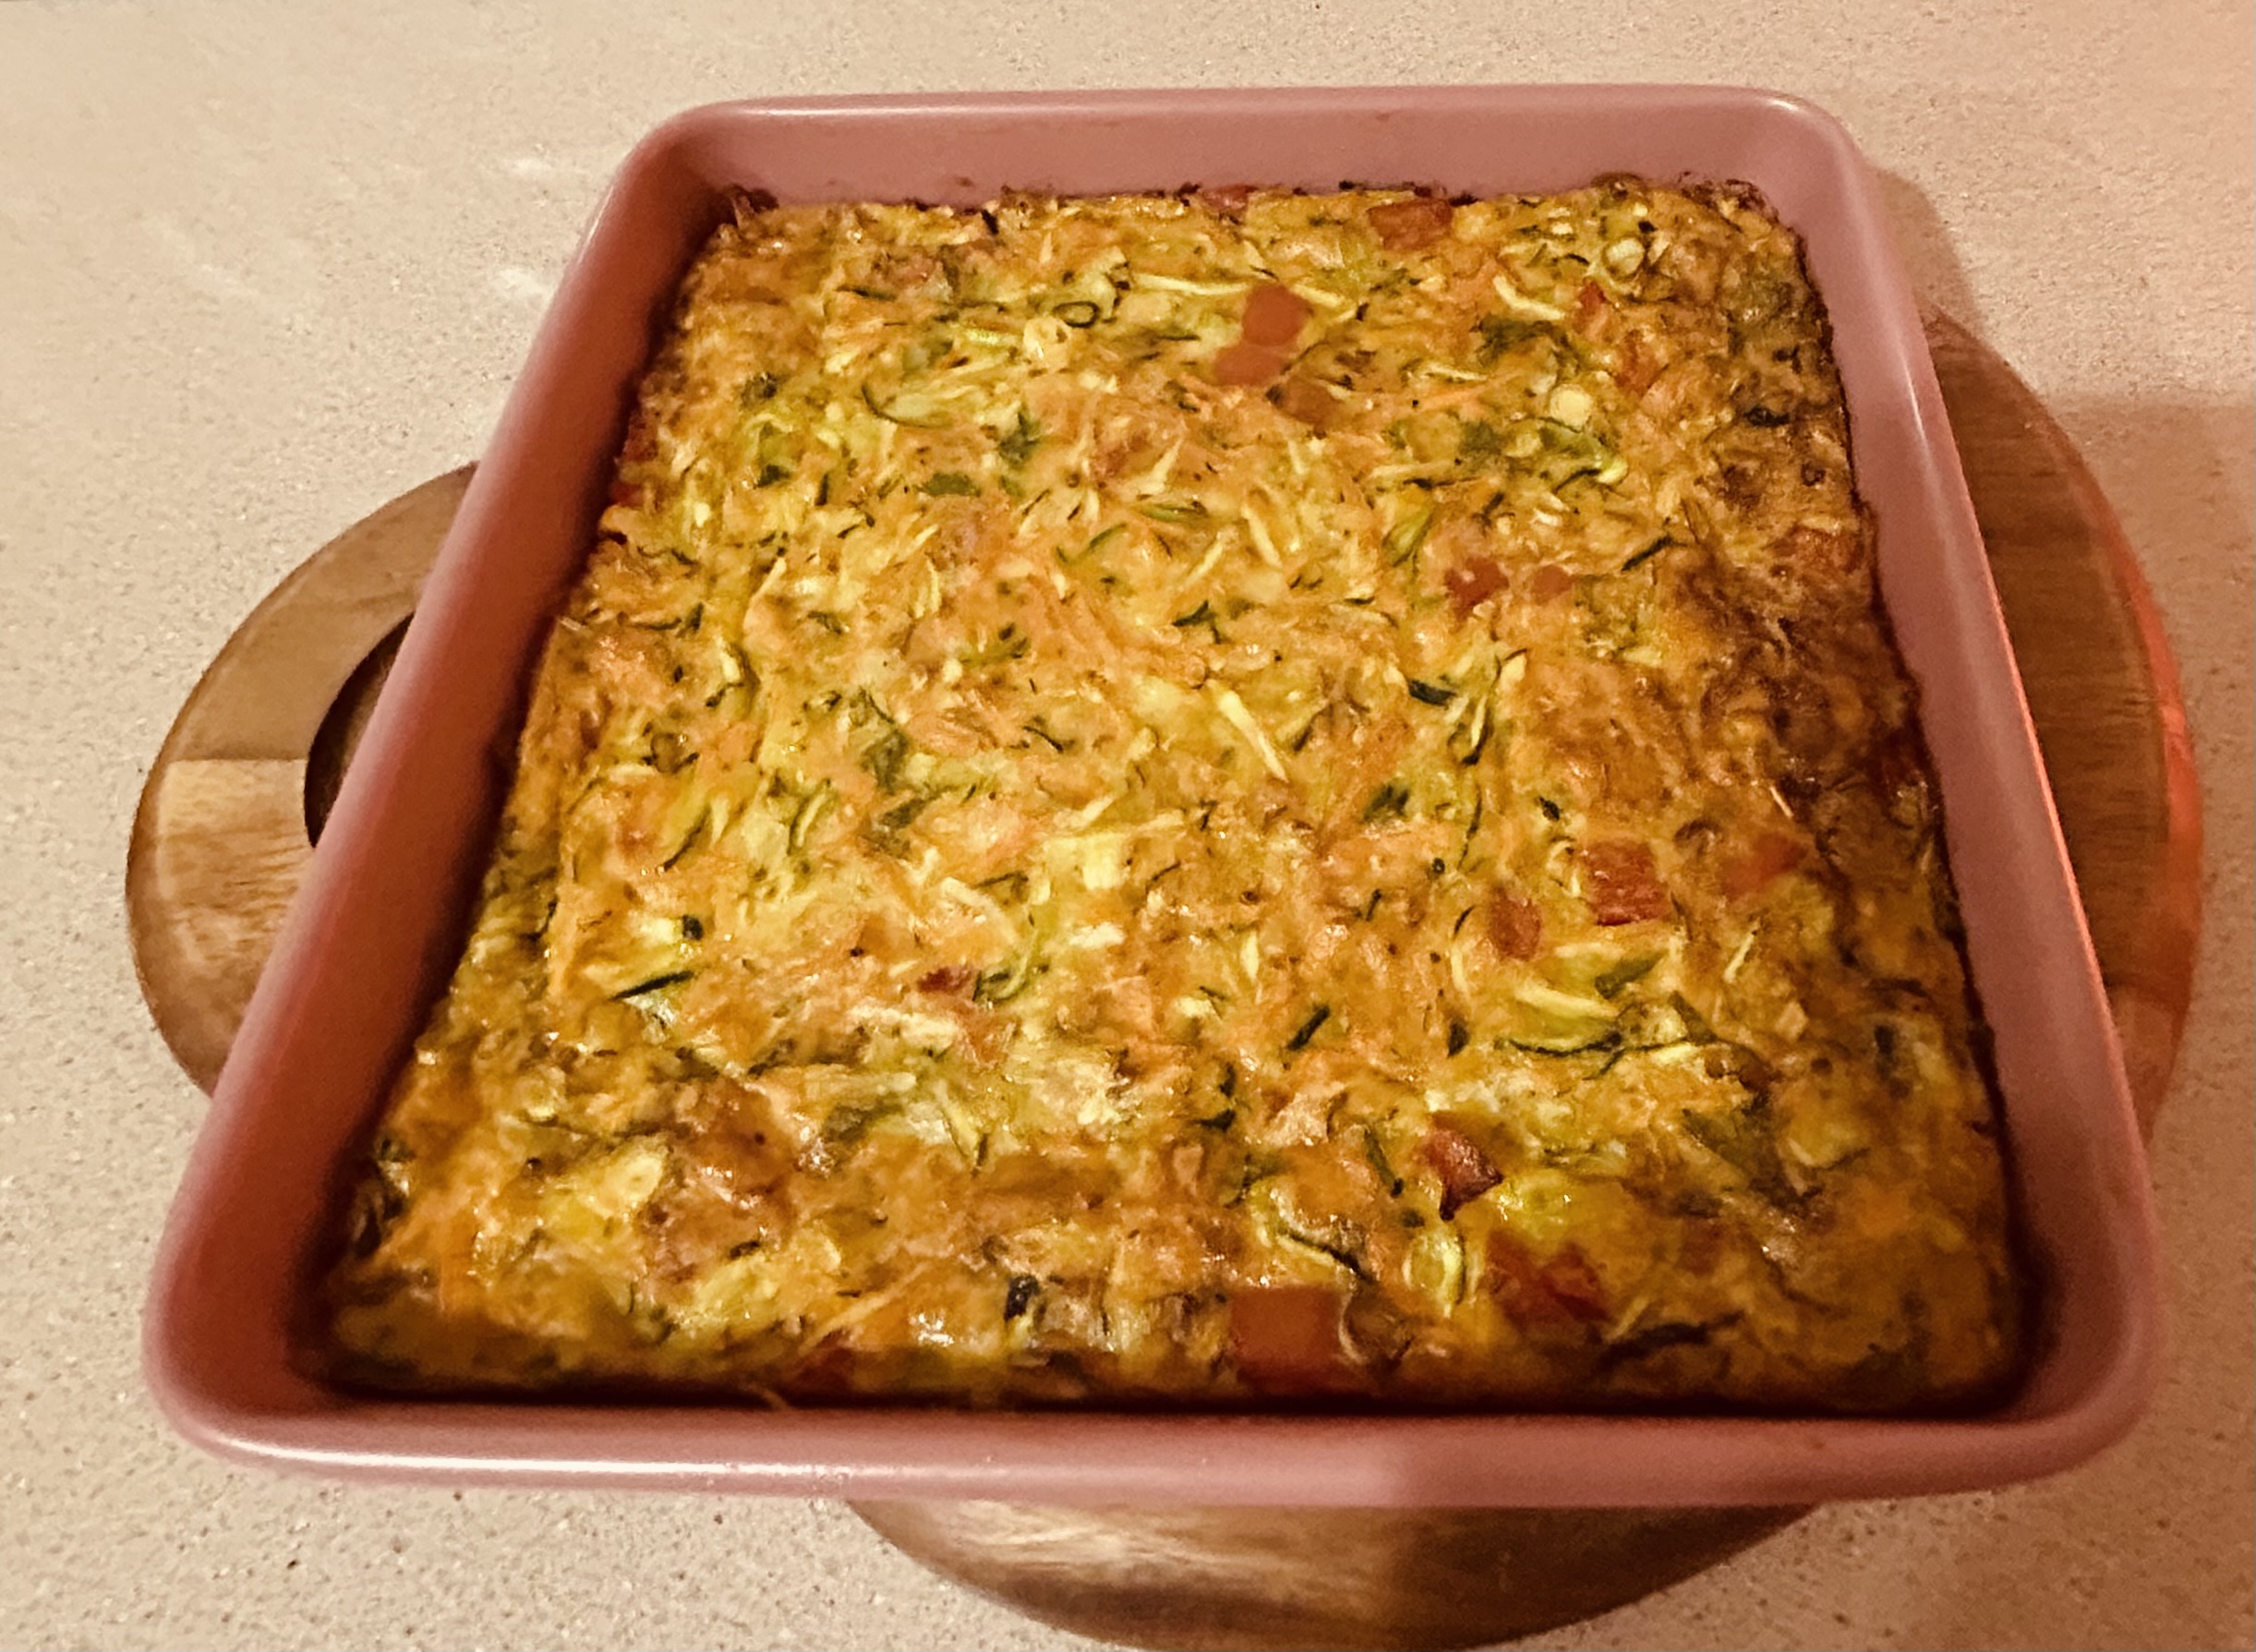
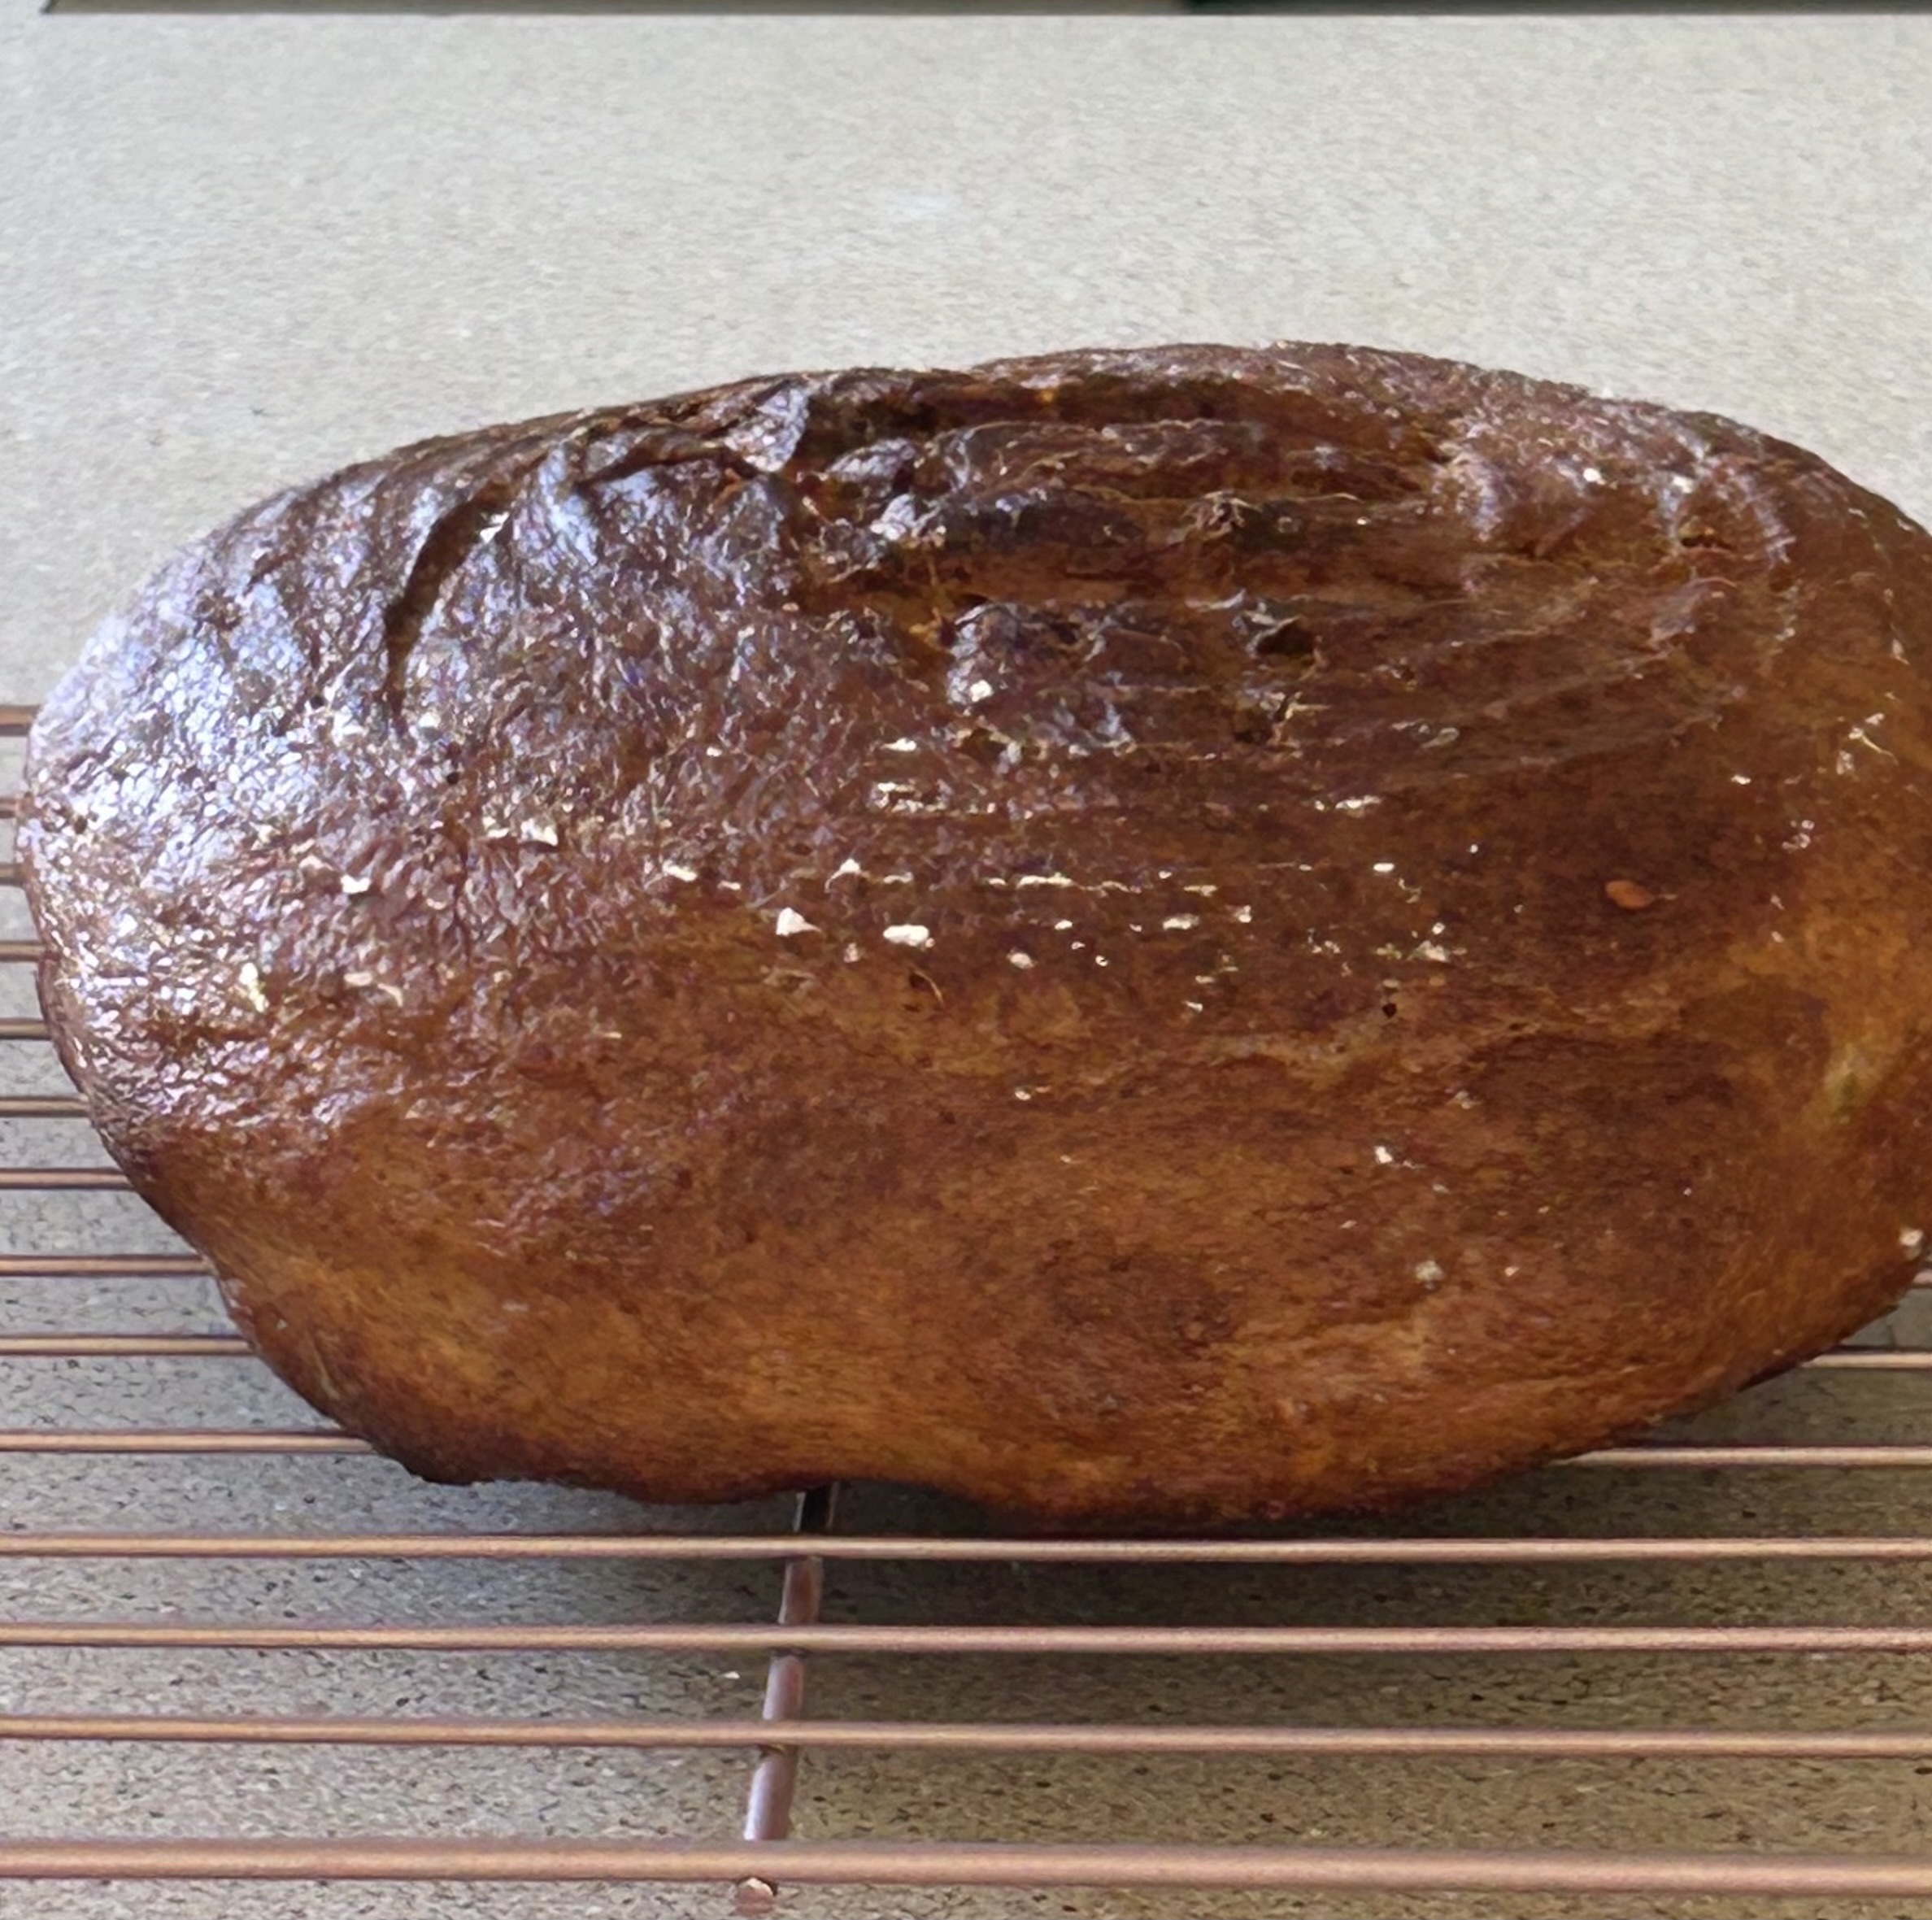
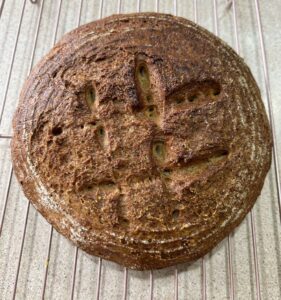
- The final loaf should be of a deep , dark brown colour. if the loaf starts browning too quickly, cover with a piece of aluminium foil, shiny side up & continue baking until done.
- Transfer the loaf onto a wire cooling rack to cool completely.
- Storage: The gluten free bread keeps well in a closed container or wrapped in a tea towel in a cool dry place for 3-4 days.
- Note: It is important that the gluten free bread is completely 100% cool before you cut into it. Cooling sets the crumb & ensures it’s not sticky or unpleasantly gummy.
Proofing Bowl:
Summary:
The ultimate gluten free bread recipe is a little bit involved but well worth it, as soon as you taste the difference compared to all the gluten free breads on the market, you will appreciate the difference.
I remember the first time I made the bread it took ages as I was not well versed in bread making. But now it is much quicker & well worth the effort.
Last put not least the bread is incredibly healthy for you:
Buckwheat is high in protein, fibre, manganese, copper, magnesium, iron, phosphorus, rutin (antioxidant), Quentin (antioxidant), Vitexin & D-chiro-inositol.
Brown rice flour is high in protein, potassium, vitamin C, iron & magnesium.
Psyllium husk helps lower cholesterol, https://pubmed.ncbi.nlm.nih.gov/10837282/ can help relieve both constipation & diarrhoea, is used to treat irritable bowel syndrome, haemorrhoids & other intestinal problems. Psyllium has also been used to help regulate blood sugar levels in people with diabetes.
Apple cider vinegar is an excellent source of potassium, magnesium, calcium & phosphorus & a good source of antioxidants.
It not only tastes good but is good for you.
Enjoy!!